the steady table
dinner every night
  • About
  • In The Kitchen
    • Kitchen Tour – Brookline, MA
    • Kitchen Tour – Jackson Heights, NY
    • Pantry Essentials
  • Contact
  • Family
  • Recipe Index

New favorite vegan cupcakes

December 6, 2018 By Nina Max in cakes, Vegan

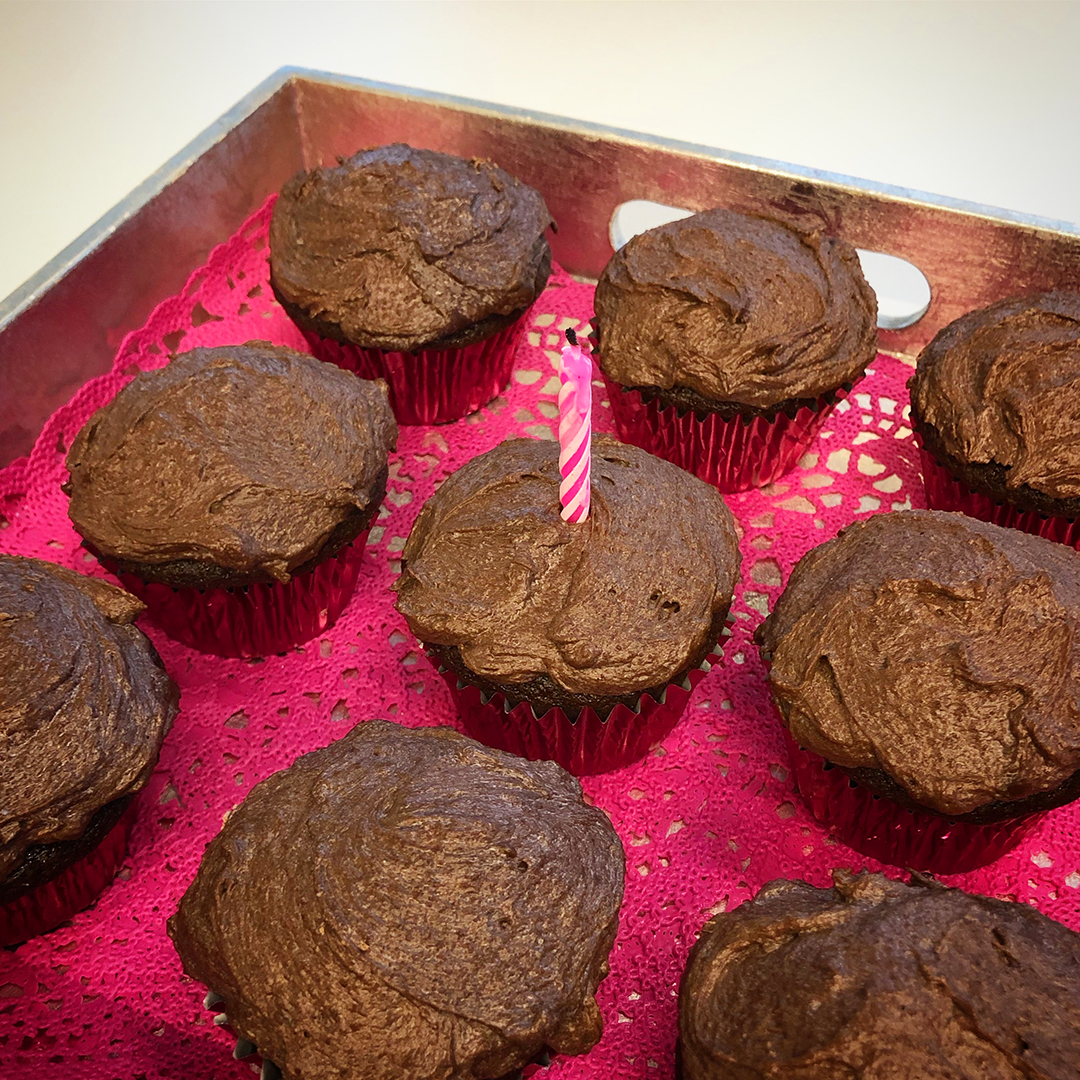
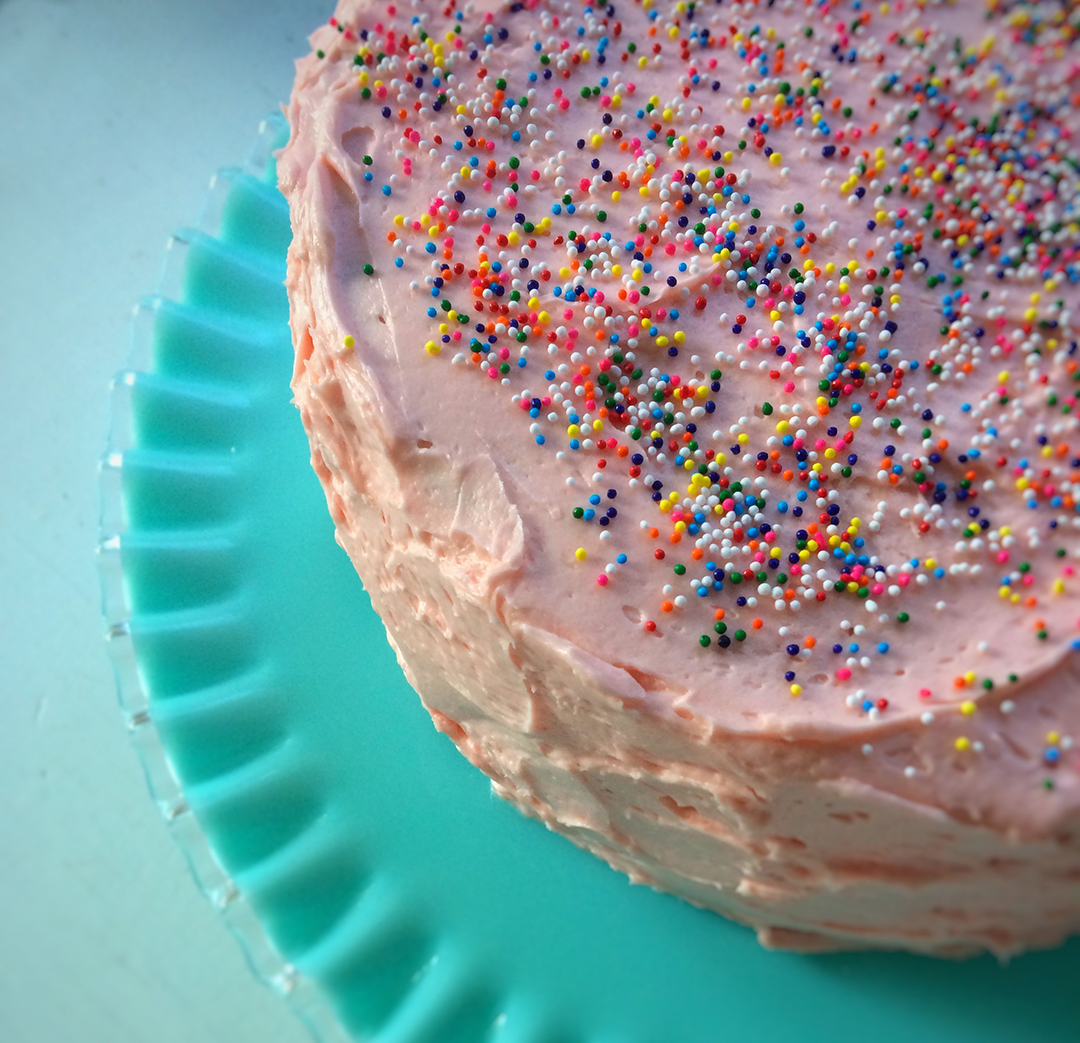
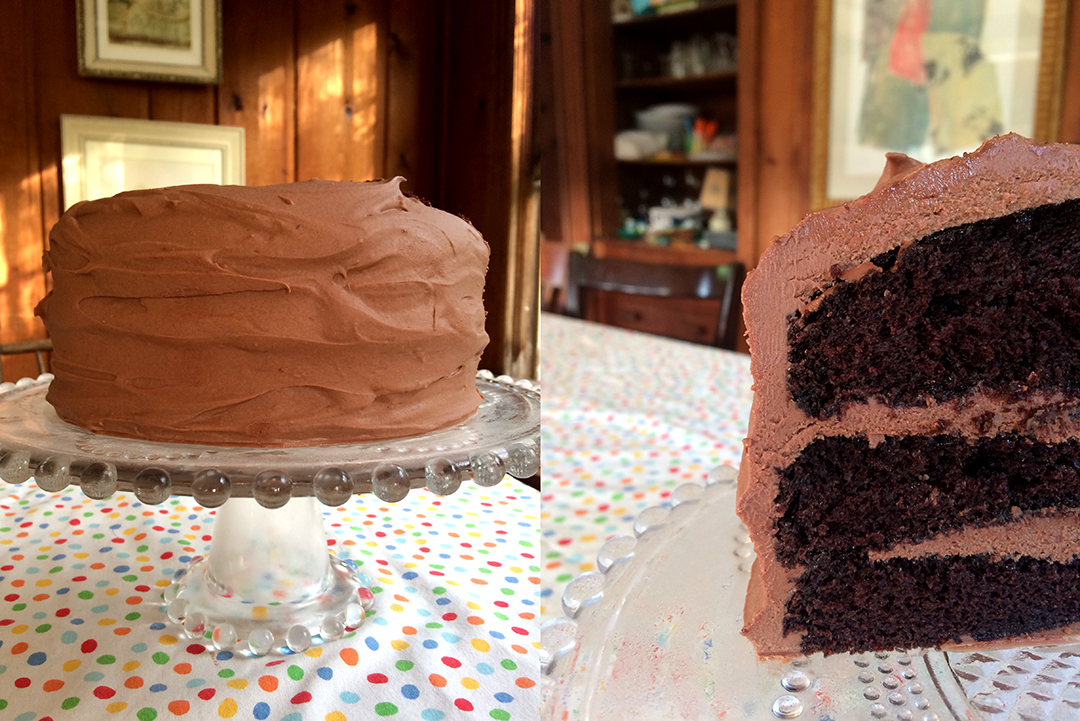
“Are you vegan now?” My friend asked after I Instagrammed these cupcakes. Hells no! But I don’t want anyone to have to go without delicious, normally-textured-and-flavored chocolate frosted cupcakes just because they’re not into butter. Know what I mean?

We’re big on celebrating birthdays at work and one of my colleagues is vegan, so when it’s my turn to bring the treats I like to challenge myself to make a vegan treat that can pass for “normal.” I mean no offense by that, it’s just that some people—my husband for one—kinda balk when you say “vegan dessert”.

Anyhow.

This recipe via the Canadian Food Network (who knew they had their own?) is my new go-to. That is, until I get bored and decide to mix it up again (this was my old go to)

Enjoy!

• Vegan Chocolate Cupcakes •
via The Food Network, Canada

Ingredients

Cupcakes
1 ½ cup all-purpose flour
1 cup sugar
¼ cup Dutch process cocoa powder
1 tsp baking powder
½ teaspoon baking soda
¼ teaspoon salt
pinch ground cinnamon
1 cup almond milk (the recipe calls for unsweetened but I only had sweetened vanilla and it worked just fine)
6 tablespoons vegetable oil
1 tablespoon balsamic vinegar (apple cider works too)
1 tablespoon vanilla extract

Frosting
⅓ cup coconut oil
¼ cup packed light brown sugar
1 tsp vanilla extract
½ cup Dutch process cocoa powder, sifted
2 cup confectioners sugar, sifted
6 tablespoons almond milk

Instructions

Cupcakes
Preheat the oven to 350ºF and line muffin cups with 12 paper liners.

Sift the flour, sugar, cocoa, baking powder, baking soda, salt and cinnamon into a large whisking bowl. Add the almond milk, oil, balsamic vinegar and vanilla and whisk well, until the batter is smooth. Spoon the batter into the paper cups (and ice cream scoop makes tidy work of this) and bake the cupcakes for about 20 minutes, until a tester inserted in the centre of the cake comes out clean. Cool the cupcakes completely before frosting.

Frosting
For the frosting, beat the coconut oil and brown sugar well until smooth. Add the vanilla and cocoa powder and beat well. Stir in 1 cup of the icing sugar, beating until smooth and then add the almond milk, followed by the remaining 1 cup of icing sugar, again beating well until smooth and fluffy.

Spread or pipe the frosting onto the cupcakes and chill until ready to serve.


Fettuccine Alfredo: it’s not that complicated

November 18, 2018 By Nina Max in quick, Vegetarian 3 Comments

For years I thought that Fettuccine Alfredo was a really complicated and time-consuming dish to make. Back in the early 90s when I was in art school, this guy (a fellow student) invited my friend and I to his house for Fettuccine Alfredo. My friend had a seemingly endless stream of male admirers, a perk for me at times like these.

We traveled in a pair anyhow, my friend and I. We both wore Posner Ripe Raisin lipstick, I because it was cheap, and she because it probably horrified her parents. I spent hours applying mine symmetrically, she dashed it on like Robert Smith from The Cure—I was never sure if it was deliberate or if her mind was elsewhere when she did her makeup.

We wore funny, puckered-cotton, kids mumu dresses we’d found in a dumpster, I because they were free, and she because her parents would never approve. Our shoes were perfectly intact 1940s heels from a warehouse downtown that sold them cheap, because of their quadruple A width, which you could make work if you sized up a bit. We wore black eyeliner, hers on the top lids, mine on the bottom. We had paint on an exposed body part, at any given time.

The guy’s house was lovely. A hundred years old with soaring ceilings, flooded with evening light. We sat at his kitchen island and drank oversized glasses of red wine while he cooked… for ages! He whisked and simmered until evening was fully and completely gone.

When we finally sat down to eat, the Fettuccine Alfredo was the best thing we’d ever tasted. Clearly worth the hours of stirring and prep. I thought: maybe I’ll make this one day. But I’ve never really felt compelled to cook something that takes all day, and isn’t cake.

When my kids asked the other night for that pasta with the white sauce—which it seems they’ve been eating when they’re not with me—I sighed and looked up the recipe prepared to say no, due to time constraints. The recipe I found said: cooking time: 15 minutes. Fifteen minutes! That poor guy tried so hard, and we didn’t even sleep over.

• Fettuccine Alfredo •
from the New York Times
serves 6

Salt
2 tablespoons butter
1 small clove garlic, finely chopped
1 1/2 cups heavy cream
1 large egg yolk
1 pound fresh fettuccine (linguini or thick spaghetti work fine too)
1 cup freshly grated Parmigiano-Reggiano cheese
Freshly ground pepper to taste.

Bring 6 quarts generously salted water to a boil.

While the water heats, melt the butter in a large, deep skillet over medium-high heat. Add garlic; saute until fragrant and sizzling, about 2 minutes. Whisk the cream with the egg yolk in a bowl until blended; pour into the garlic butter. Reduce heat to medium-low; stir until hot but not boiling. Keep warm over low heat.

Cook the pasta, until al dente. Reserve some cooking water, then drain in a colander, shaking out excess water. Pour hot pasta into the cream mixture and toss to coat (still over low heat). Add the cheese and keep tossing gently until cream is mostly absorbed. Season with salt and pepper. If sauce is absorbed too much, toss with a little pasta water. Serve immediately, with a simple salad.

Kit Kat M&Ms ice cream cake

October 27, 2018 By Nina Max in cakes, parties

A few weeks ago we were at a birthday party and they served a Kit Kat m&ms cake. This is apparently a thing, but I didn’t know that at the time. Do a google image search and you’ll see what I mean.

When Rose saw the cake she said “I want THAT for my birthday.” I asked if I could make it for her and she hesitated. Having grown up in a family that likes to cook from scratch, Rose covets all things store-bought. I knew she was wanting the supermarket cake, plastic cover and all.

I offered to make it for her with ice cream instead of cake, and it was a done deal. The cake is surprisingly easy to make, it has a lot of parts but none of them are tricky or take long – not even the hot fudge. I’m excited to share it with you!

recipe and process updated 10/20/19 

• Kit Kat M&Ms Ice Cream Cake •
makes one 8″ cake which serves about 16

Ingredients:
Cake & Assembly
2 quarts of good quality ice cream*
1 approx. 1lb bag m&ms
10 4-stick kit kat bars

Chocolate Crumbs
36 Famous Chocolate Wafers
4 tablespoons butter, melted

Hot Fudge (adapted from the New York Times)
1 cup heavy cream
2 tablespoons butter
3/4 cup granulated sugar
1/4 cup chocolate chips
1 cup unsweetened cocoa powder, sifted
1/2 teaspoon vanilla extract

*We used Chocolate and Coffee Cookies n Cream from JP Licks. The cheaper store bought kinds are probably too airy to make good ice cream cake layers.

Equipment:
Two 8″ cake pans
One 8″ springform cake pan
Parchment paper

Make the ice cream cake layers. Line the bottoms of two 8″ cake pans with parchment paper. Leave your ice cream out until it gets soft, but not too soft, about 20 minutes worked for us. Mush the ice cream into the pans, one pan per quart and flatten it as much as you can. Freeze until rock hard, for several hours or overnight.

On the day you want to serve the cake, make the chocolate crumbs. Crush your 36 famous wafers into fine crumbs and mix with the 4 tablespoons of butter. Set aside.

Make the hot fudge. In a small saucepan, combine cream, butter & sugar. Bring to a simmer over medium-low heat. Simmer 45 seconds. Add chocolate chips, and whisk to dissolve. Remove from heat, add cocoa, and whisk until smooth. Return pan to low heat, and simmer sauce until glossy, whisking constantly, 20 seconds. Remove from heat, and stir in vanilla. Set aside to cool to lukewarm/room temperature.

When ready to assemble the cake, grease an 8″ springform pan and press half of the chocolate crumbs into the bottom. Take one of the ice cream cake layers out of the freezer and carefully run a knife dipped in hot water around the edge, flip the cake pan onto a plate and tap the bottom, the cake should pop out. Peel off the parchment and lay the ice cream cake layer on top of the crumbs in the springform pan. Pour the rest of the chocolate crumbs on top of your ice cream cake layer. Remove the second cake layer from the freezer, remove from pan (as above) and place it in the springform pan on top of the crumbs and first layer. Press the whole cake down firmly into the pan using a piece of parchment, to kind of congeal it together and pop it back in the freezer for at least an hour.

Break your kit kats into two-stick pieces. Take the cake out of the freezer and carefully remove the sides of the springform pan, leaving the cake on the bottom of the pan. Put the cake on a serving dish (don’t use a tall cake stand unless you have a lot of vertical space in your freezer) and glue each pair of kit kats vertically to the side of the cake using a thick shmear of hot fudge to adhere them. Once the kit kats are glued all around the outside of the cake, drizzle the remaining hot fudge over the top layer and pour in the m&ms. 

Freeze until ready to serve. You will need to use an ice pick or other sharp, pointy object to make holes for the candles.

Enjoy!

Gordon Ramsay’s chicken breast

October 16, 2018 By Nina Max in quick 1 Comment

A while back, Rose was really into the TV series Master Chef Junior. I was totally behind this because, well, kids watching cooking shows? It doesn’t really get better than that screen time-wise. On one of the episodes, Gordon Ramsay taught the kids how to make a perfect chicken breast. I’ve been making chicken breast for my family for years but—despite my most noble of efforts—always felt that my breasts might be a bit boring.

And then I started making Gordon’s breasts and I got compliments! Even people who prefer thighs gave me compliments. All you have to do is watch this video a couple of times and I’ll wager you can do it too. I know I sound like an infomercial but this really is the easiest, best results chicken breast recipe I’ve ever found. It’s forgiving too, you don’t really need to measure and you can totally mix it up with the fresh herbs. Just be sure to use plenty of butter, salt and pepper. And remember, no color, no flavor (chef!)

Tonight, we also had a gloriously simple cauliflower gratin. It’s Ina Garten so you know it’s going to be good and have lots of butter in it. Rose ate five servings, and I don’t think she’d ever touched cauliflower before.

Happy Tuesday. xoxo

Epic food prep

September 16, 2018 By Nina Max in family 2 Comments

Lately, I feel like all of my time outside of work is spent preparing food for meals that are going to be eaten later. Above is a list that Rose put together, I thought perhaps it would help me feel less overwhelmed by food prep during the week. Time will tell. But first some back story.

Do you remember, years ago, when Rose first started gymnastics and we were all worked up about how we’d get dinner on the table, get her fed, and in bed by 8:30 when practice ended at 7:00? If you don’t remember, you can read about it here and here.

Well ha! Fast forward 5 years and that sure sounds like a walk in the park. She now needs to eat dinner at the gym, since her practice goes till 8:15 and she doesn’t get home till 8:45.

Us driving back and forth to the gym all the time like crazy animals aside, it means that I now have to prepare breakfast and lunch for me, lunch for Sid, and lunch and dinner for Rose the night before, because I’m not a morning person (and I already have kids breakfast to deal with at that time).

So yeah, that’s 5 totally different meals that need to be prepped and packaged 3 nights per week. Yay! It doesn’t help that nobody around here is cool with just eating the same thing day after day.

Because it’s the weekend I thought I’d give myself a head start, which also meant I basically spent the entire weekend thinking about, buying and preparing food.

Here are the three bring-to-work breakfasts, two adult lunches, two kid lunches and 1 kid dinner I made this morning.
And then, because Shane is so busy with work that I basically haven’t seen him for two weeks I figured I might as well keep up the momentum and prep dinner. That there’s my favorite mac and cheese all ready to bung in the oven at a moments notice. 

I feel pretty accomplished, but also humbled by the food prep that lies ahead this week, and seemingly for the rest of my life…. If things get any easier I’ll be sure to let you know.

Happy school year everyone! (insert sarcasm emoji here)

Chocolate stout cake

September 3, 2018 By Nina Max in cakes, parties

Labor Day is our last big hurrah at the Cape, not the end of the season per se but the last big weekend when everyone will for sure be around. It’s also my sister’s birthday. Historically we’ve had a big celebratory meal and cake. This year was really not much different than other years, big meal, nice time, cake.

We almost had to go to plan B when Shane who had the steak and potatoes in his possession, but was still in Boston, wasn’t able to leave because one of our cats wouldn’t come in. This was strikingly reminiscent of another birthday when Shane decided to go out for a kayak right before a hurricane.

Fortunately, we procured backup potatoes and Shane arrived in the nick of time with steak. There was never a concern about the cake not happening.

I like to make something a little special for my sister’s birthday. She said I could make whatever I wanted, but that what she really likes is chocolate cake with vanilla frosting. Rather than doing our family favorite Chocolate Mayonnaise Cake, I mixed it up a little with a Chocolate Stout Cake (recipe below). The cake was nicely dense and had a sophisticated flavor that I think it got from the stout. We made the frosting pink, because we could.

Happy (it’s still) summer!

• 3 layer Chocolate Stout Cake with Vanilla Frosting •
from Sweetapolita

Cake Layers
1 1/2 cups (12 fluid ounces) stout or dark beer (we used Guinness)
1 1/2 cups (3 sticks) unsalted butter, cut into cubes
1 cup sifted Dutch-process cocoa
3 cups all-purpose flour
3 cups granulated sugar
2 1/4 teaspoons baking powder
1 teaspoon salt
3 large eggs, at room temperature
2/3 cup sour cream, at room temperature

Directions
1. Preheat oven to 350°F. Grease three 9-inch round pans, line bottoms with parchment paper circles, then grease circles, dust with flour and tap out excess. Set aside.
2. Place the stout and butter in a large, heavy saucepan and heat on medium heat until the butter melts, stirring occasionally. Remove the pan from the heat, and whisk in the sifted cocoa powder until smooth. Pour into a large heatproof measuring cup or bowl and let cool.
3. In a medium bowl, whisk together dry ingredients: flour, sugar, baking powder and salt. Set aside.
4. In the bowl of an electric mixer fitted with the paddle attachment, mix the eggs and sour cream on medium speed (#4 on KitchenAid) until well combined, about 3 minutes.
5. Add the cooled cocoa mixture, and mix on medium speed (#4 on KitchenAid) until combined, about 1 minute.
6. Add the dry ingredients slowly and combine on low-speed (#2 on KitchenAid) until blended, making sure to scrape the sides and bottom of bowl, and then mix for another minute.
7. Divide batter into prepared pans evenly. Place cake pans on middle oven racks and bake until toothpick inserted into centre comes clean, about 35 minutes.
8. Let cakes cool on wire racks for ~10 minutes, loosen edges with knife or small palette knife, then gently remove from pans to cool completely.

Whipped Vanilla Frosting
1 pound (4 sticks) unsalted butter, softened and cut into cubes
3 3/4 cups sifted confectioners’ sugar
4 tablespoons milk
1 tablespoon pure vanilla extract 
pinch of salt
a few drops of red food coloring (optional)

Directions
1. In the bowl of an electric mixer fitted with the paddle attachment, whip butter for 8 minutes on medium speed (#4 on KitchenAid). Butter will become very pale & creamy.
2. Add remaining ingredients and mix on low speed for 1 minute, then on medium speed for 6 minutes. Frosting will be very light, creamy, and fluffy.
3. Frost cooled cake layers and serve as soon as possible


New summer pasta

August 29, 2018 By Nina Max in quick, Vegetarian

It’s 1000 degrees with 500 percent humidity in Boston today. It’s hard to see your way to cooking a nice hot meal. Yesterday we just ate a giant bucket of hummus with pita from Rami’s.

But tonight, my ambitious mom (who doesn’t have air conditioning, btw) decided to make this pasta dish she’s been meaning to make for a while now. It comes from the New York Times by way of my dad, aka my mom’s personal recipe clipper.

Orecchiette with Corn, Jalapeño, Feta and Basil. All parties agreed it’s a keeper. The jalapeño really just adds a bit of interesting, subtle flavor. Don’t expect something very spicy. Pasta with corn is always a favorite of mine, this corn happened to be fresh off the cob which didn’t hurt the flavor one little bit.

Have at it:

• Orecchiette With Corn, Jalapeño, Feta and Basil •
from the New York Times
serves 4

Ingredients
1 pound orecchiette
4 tablespoons unsalted butter
1 jalapeño, finely chopped
5 ears corn, shucked and kernels removed (about 3 1/2 to 4 cups kernels)
Kosher salt
8 ounces crumbled feta cheese
½ cup torn basil leaves, plus more for serving
Flaky salt, for serving (optional)

Directions
Bring a large pot of well-salted water to a boil. Add pasta, and cook until it is just short of al dente, about 10 minutes. Drain, reserving 1 cup of pasta cooking water.

While pasta cooks, make the sauce: In a 12-inch skillet, melt butter over medium heat. Add jalapeño, and cook until softened, about 1 to 2 minutes. Add corn, and cook until it begins to brown in spots, about 3 to 4 minutes. Season with salt. Add 1/4 cup of pasta water and bring to simmer and cook until reduced by half, about 1 to 2 minutes.

Add pasta to skillet, tossing to coat with sauce. Add feta cheese and an additional 1/4 cup of pasta water, tossing until pasta is slick and glossy with sauce. If needed, add in another 1/4 cup pasta water. Stir in basil. Transfer to a large bowl and scatter with remaining basil. Season with flaky salt, if desired. 

You will be shocked to learn that I didn’t think it needed any salt.


Summer birthdays, sushi, new cake recipe

August 5, 2018 By Nina Max in cakes, cape meals, parties

I start every post these days with: I know, I haven’t posted in so long. It’s true, I don’t really know where to go with the blog. Should I find a way to keep up with it, if only to have it as a resource for my family (who actually uses it a lot)? I don’t know.

What I do know is that when it’s my parents’ birthday and there’s a whole ton of delicious sushi and a brand new cake recipe, I for one am going to want to remember it—and find that cake recipe easily. So here goes.

As you may remember my parents were born a day apart, in August. Which means a celebration on Cape Cod can never not happen.

This year our dear Drew took the weekend off from his latest business venture to make, oh, 150-or-so pieces of fresh, homemade sushi for us all with help from whomever wasn’t wrangling kids at any given time. My mom hates to not help, so even though it was her birthday weekend she made an asian salad and an edamame salad. I threw in some baked tofu with miso sauce and my sister and I took on a brand new cake recipe.

Dinner was crazy, to say the least. We had little kids who were totally wound up, tweens who were sleepy and bored (but kind of wanted to make frosting), torrential rain and a ton of folks in the kitchen all day. But it was ok, it was exhausting but good.

Ok maybe I need an extra day off.

But anyhow. For all you chocolate and Nutella lovers out there, here’s the cake recipe:

• Chocolate Nutella Layer Cake •
from sweetapolita

Ingredients
For the Cake:
2 1/4 cups 285 grams all-purpose flour
2 1/3 cups 470 grams superfine sugar
3/4 cup 90 grams dark Dutch-process cocoa powder 
2 1/2 teaspoons 12 grams baking soda
2 teaspoons 10 grams baking powder
1 teaspoon 8 grams salt
1 1/4 cups 300 ml buttermilk
3/4 cup 180 ml brewed coffee or espresso
2/3 cup 160 ml vegetable oil
3 eggs room temperature
1 tablespoon 15 ml pure vanilla extract

For the Frosting:
4 1/2 cups 565 grams confectioners’ sugar
1 1/2 cups 340 grams unsalted butter, room temperature
1 cup 280 grams Nutella (or other hazelnut spread)
3/4 cup 180 ml full-fat sour cream
11 ounces 330 grams best-quality dark chocolate, melted and cooled slightly
1 tablespoon 15 ml pure vanilla extract
Pinch of salt

Instructions
For the Cake:
Preheat oven to 350° F. Prepare three 7-inch round cake pans with nonstick spray and parchment rounds.
In bowl of electric mixer fitted with the whisk attachment, sift all dry ingredients, including sugar. Combine eggs, buttermilk, coffee, oil and vanilla in a measuring cup and beat lightly with a fork.
Add milk mixture to the dry ingredients mix for 1 minute on medium speed (you may need the plastic splash-guard that comes with mixer). Divide batter evenly among prepared pans–each pan should contain about 600 grams of batter.
Bake the first 2 layers for 20 minutes and rotate pans in oven. Continue to bake until toothpick or skewer comes almost clean (a few crumbs), about 5 more minutes. Cool on wire racks for 20 minutes. Repeat with remaining layer, and then gently invert onto racks until completely cool.

For the Chocolate Frosting:
Put all of the ingredients in a food processor, and pulse until smooth and glossy, about 1 minute. The frosting will be very soft. Refrigerate the frosting until it thickens slightly, about 15 minutes.

Assembly of the Best-Ever Chocolate & Nutella Layer Cake:
Sweetapolita’s assembly can be found here. We just did a traditional quick icing. A blob on the cake plate and a blob spread between each layer. Then we gently frosted the outside of the cake with the remaining icing and refrigerated until ready to eat (it was in the 80s so refrigeration was necessary)


Summertime

May 23, 2018 By Nina Max in family

We officially kicked off summer here at the olde homestead tonight with none other than Frank Pepe’s pizza and my mom’s amazing salads. Best of all, we ate dinner (wait for it) outdoors!!!

Summer—spring for that matter—has been a long time coming this year on the east coast. It seems like it’s finally here, just in time for my family to head off to Ireland where it will probably feel like March. But I digress.

Did I tell you that my sister and brother in law moved back in? Yup, it’s true. We’re (temporarily) back to 8 human family members and 6 felines in one house. And it’s awful nice to have them here.

I was saying to my sister tonight, that nothing says summer like Frank Pepes. And that’s probably because on this exact day, 4 years ago—when we all lived in New York instead of all living in Boston—we’d for sure be eating Pepes in the car, one of us crushed between two car seats, one doling out slices of pie from the front seat, one driving, and all of us bracing ourselves for the painfully long trip from New York to Cape Cod for Memorial day.

My sister kindly pointed out that it would not be this exact day because today is not Friday, it’s Wednesday. Semantics!

As much as I miss New York sometimes, still, I don’t think I will ever miss that trip. Except maybe a little because I’m a sap. Here’s to eating Pepes in our beautiful backyard, instead of in the car.

Happy Summer!

Throwback Thursday

May 11, 2018 By Nina Max in quick

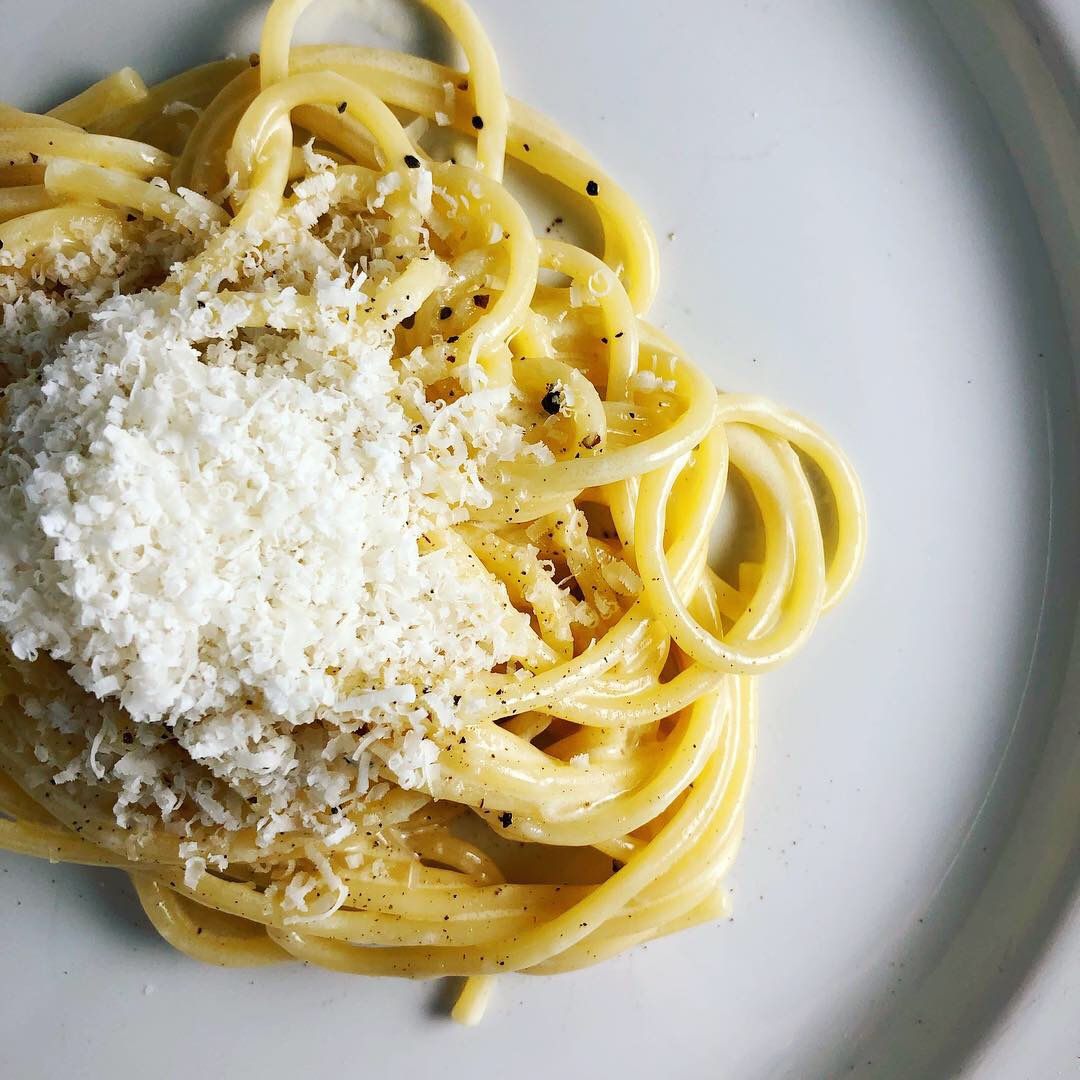
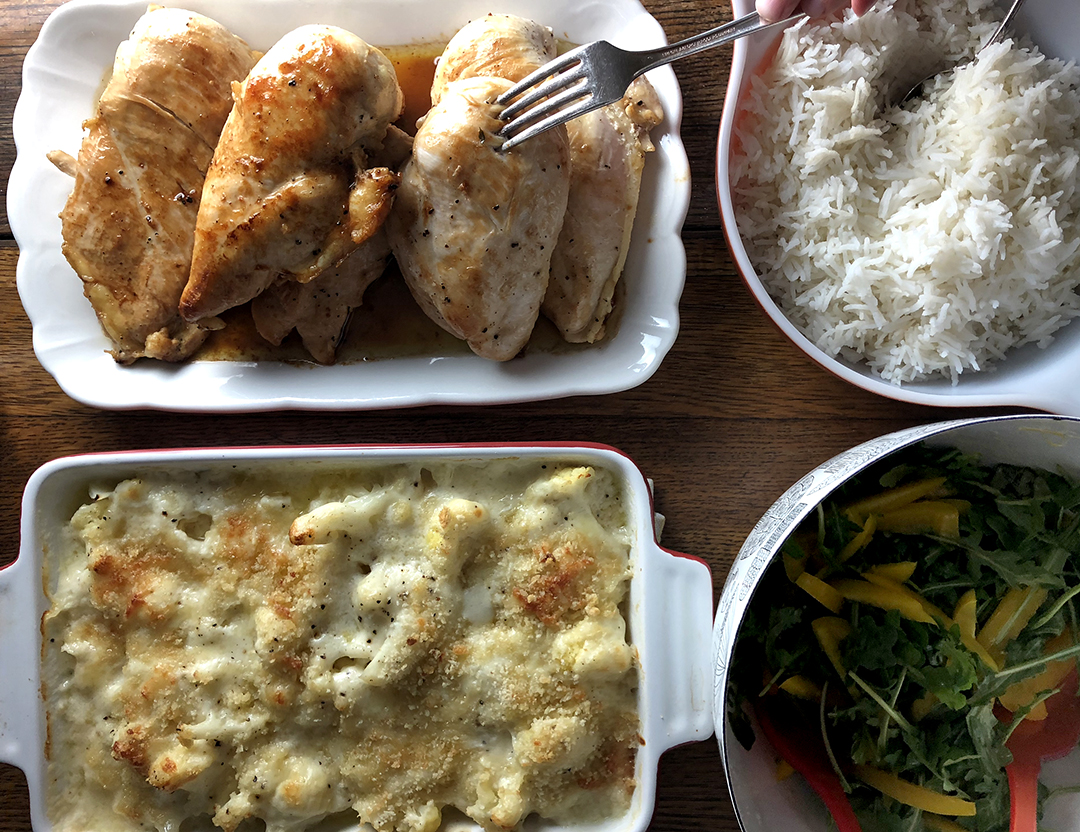
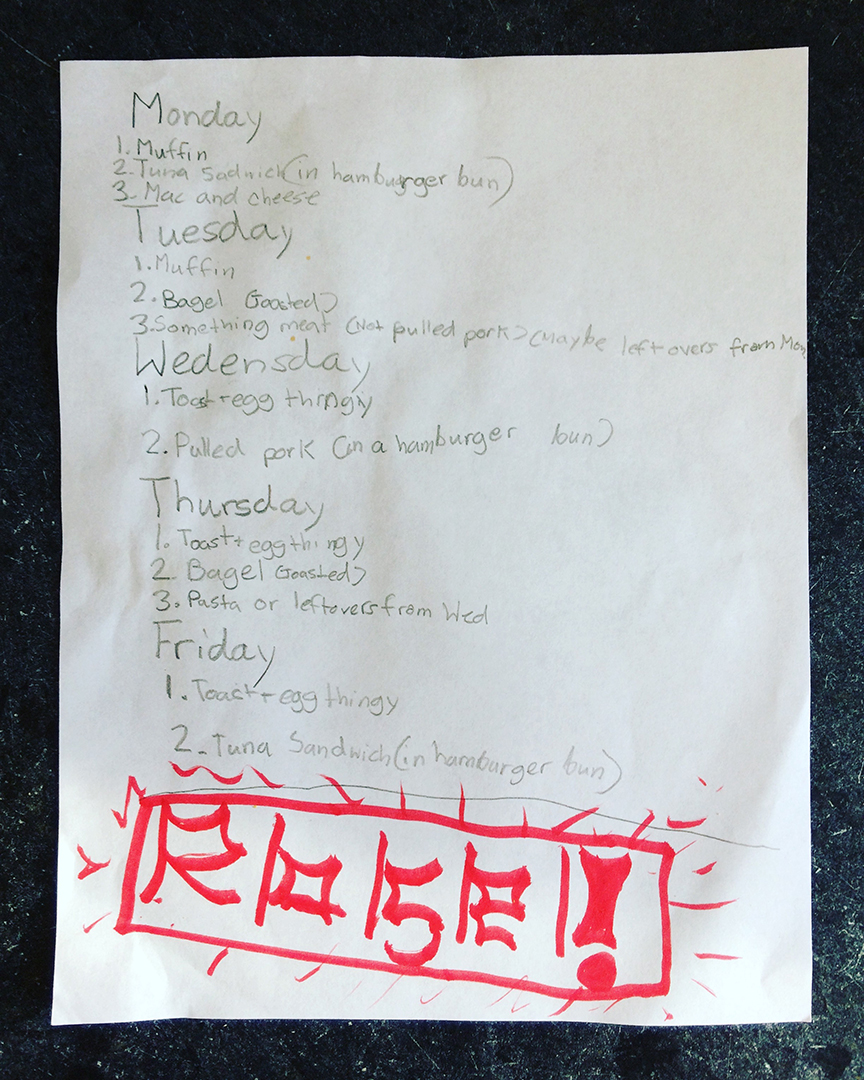
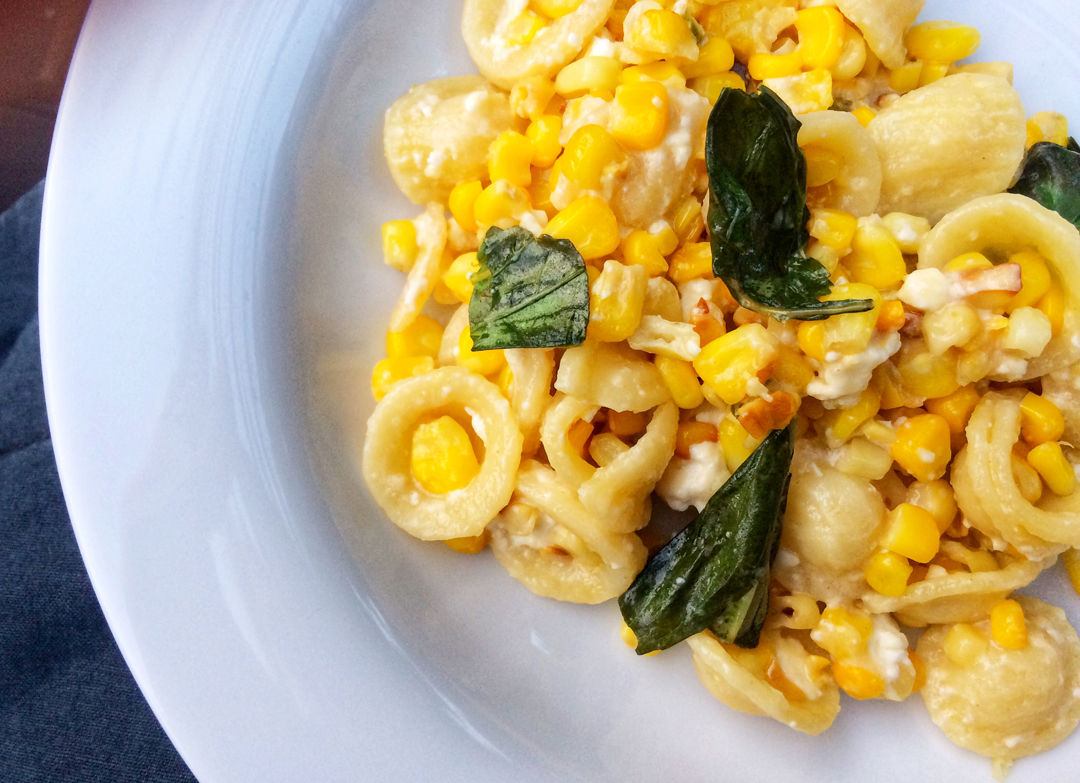
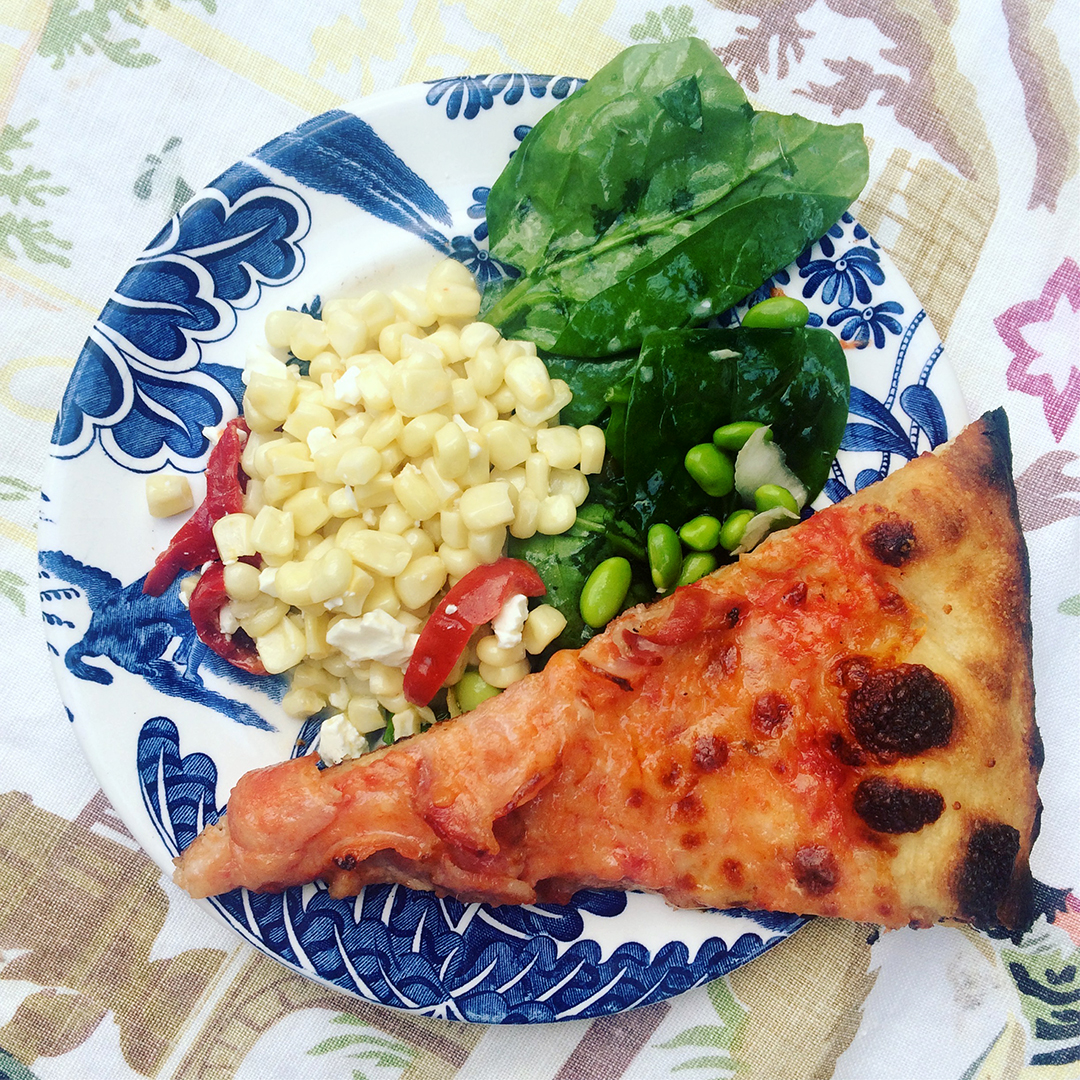
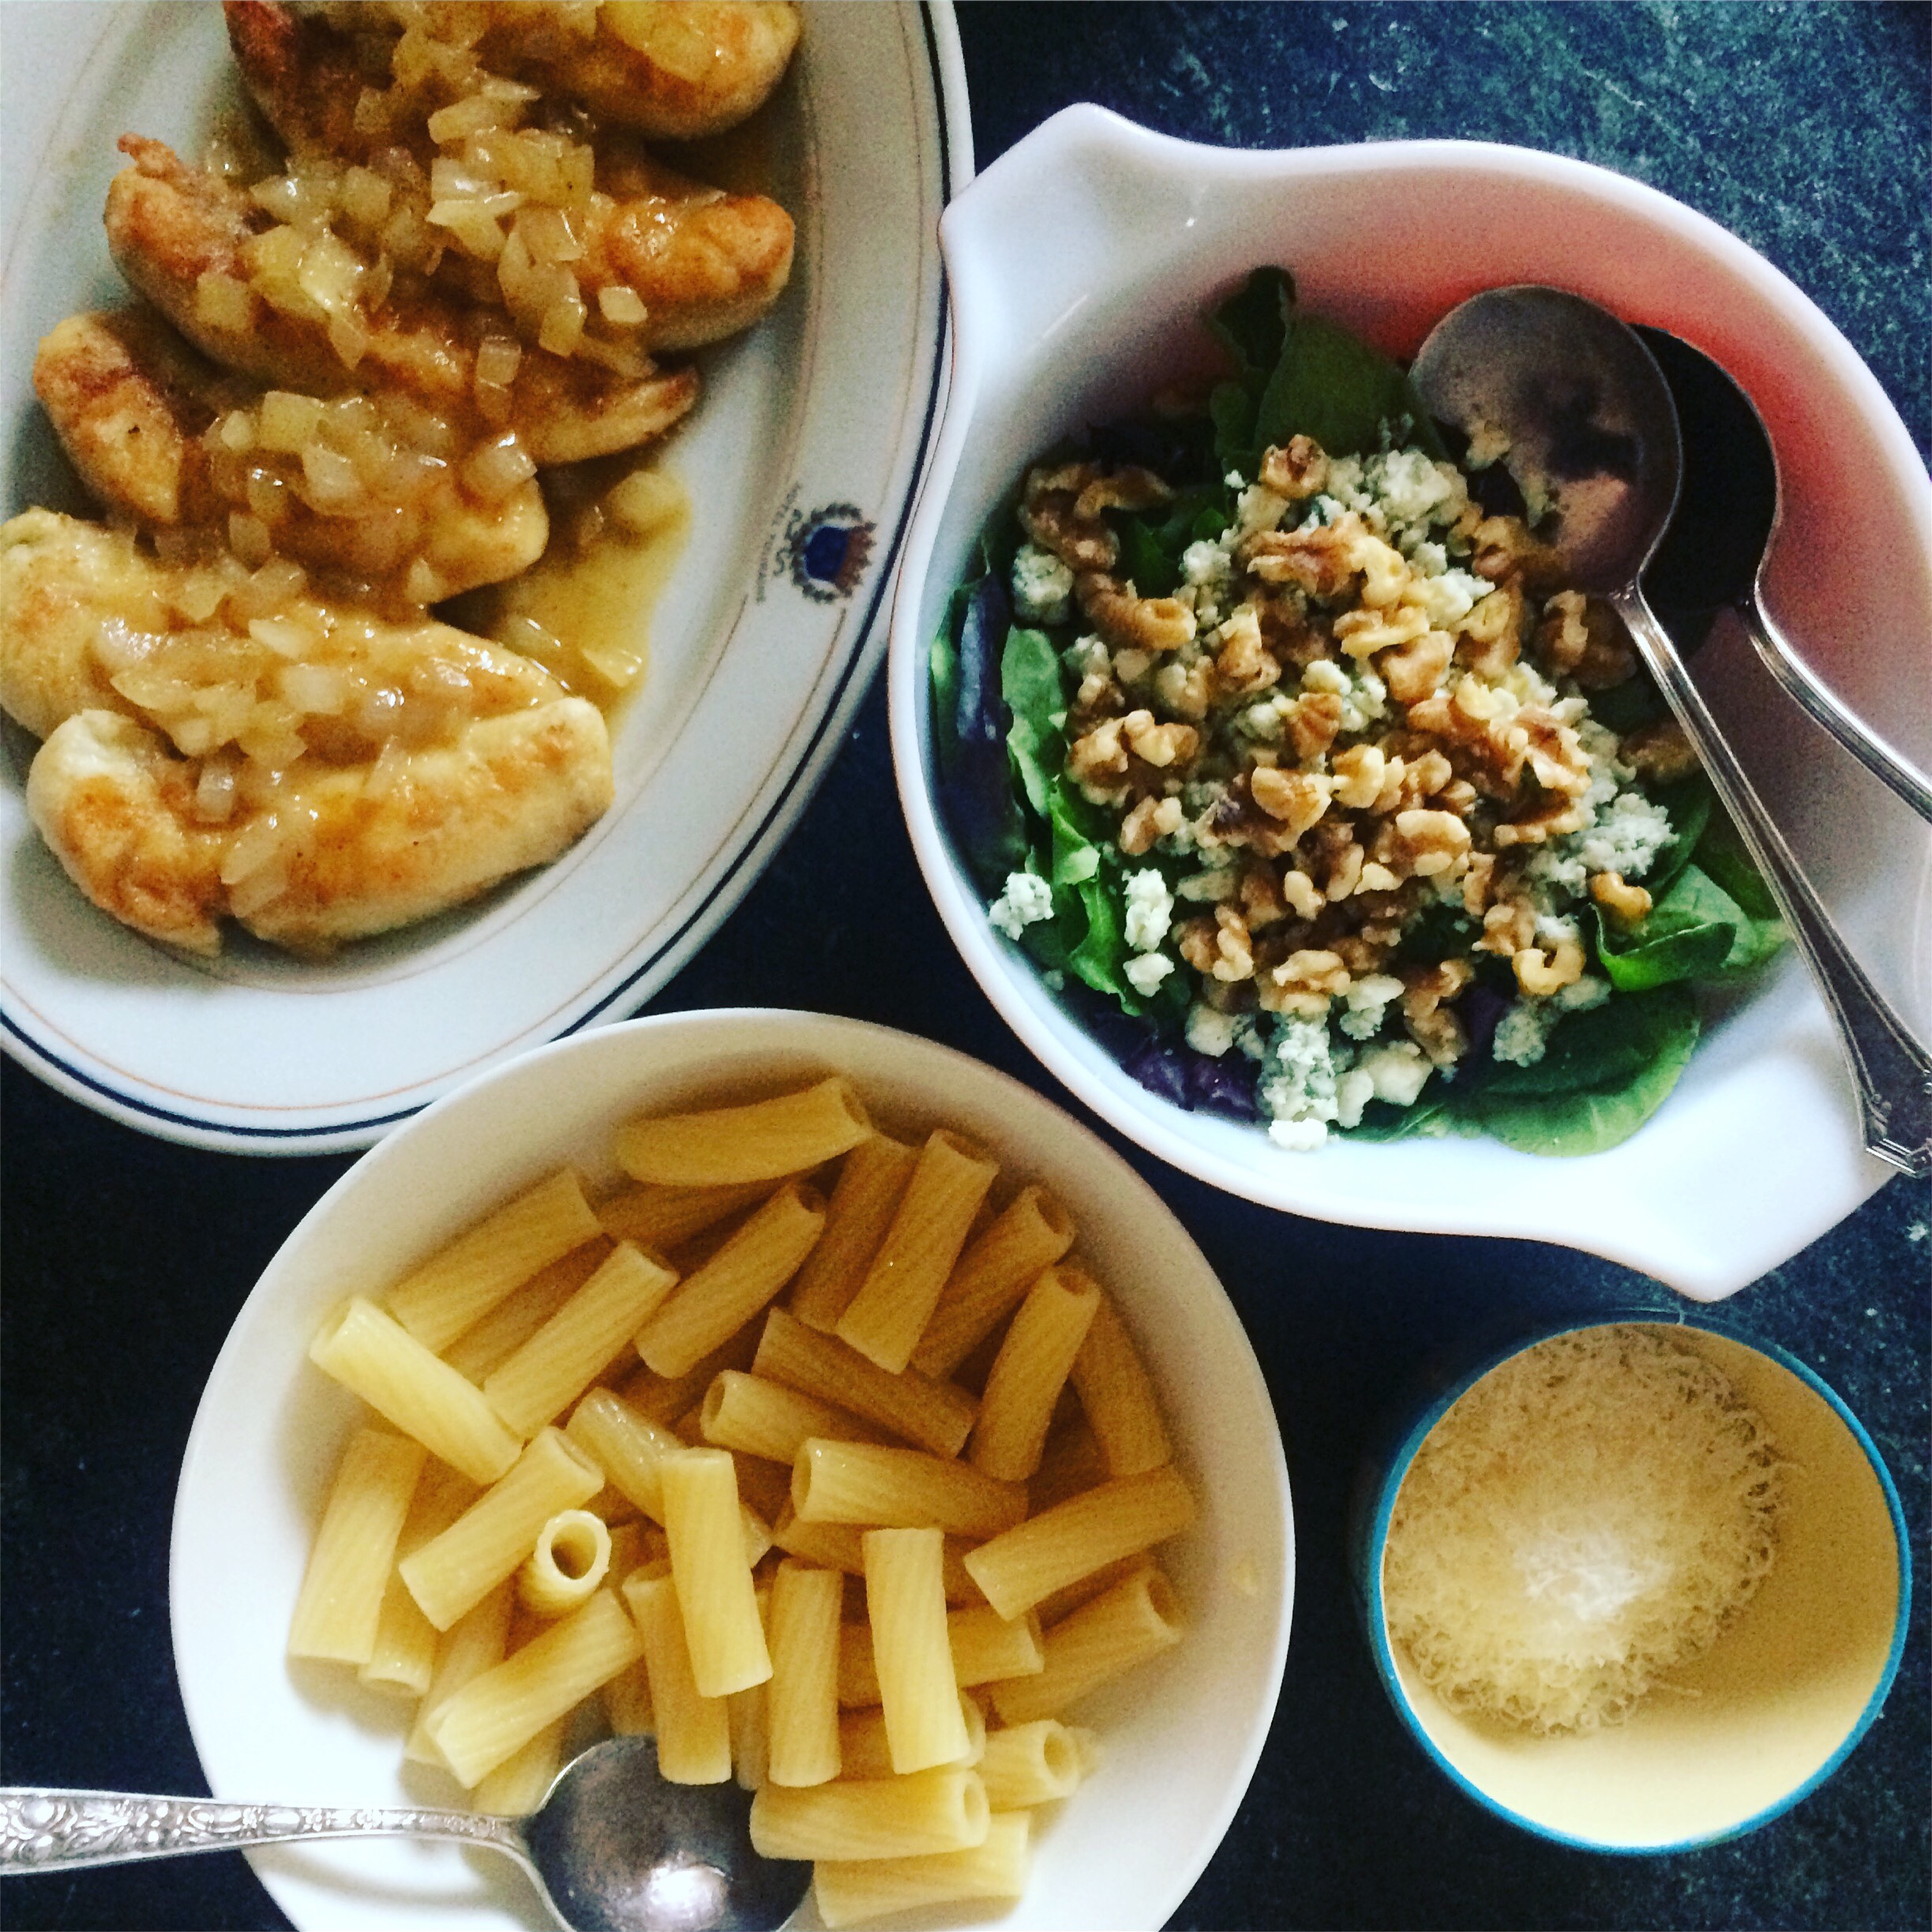
Our meals have been pretty boring and repetitive lately. We seem to be stuck in an uninspired cycle of chicken & rice, pasta with red sauce or pizza. And broccoli.

Last night, I decided to mix it up a bit. Admittedly, it was still pasta and chicken but it was a recipe we hadn’t had for a while.

Back in 2012 or so, when I was the primary dinner-doer in the family, this is the kind of meal I used to make. A lot. Back then I usually had 30-45 minutes to get dinner on the table and if I wanted to up the ante a little, chicken with white wine and lemon was the way to go.

It still is. You can prepare it extra quick if you use chicken tenders or the kind of breasts that are already thin. And if you don’t have a shallot, onion works just fine.

Add a side of simple pasta and a nice salad and you’ve got a meal that works for everyone, even the vegetarian who’s cooking the chicken.

xo

< 1 2 3 4 5 >»


Recent Posts

  • A very pandemic Christmas
  • A light in the bubble
  • Now
  • Bread roundup
  • Half-birthdays and enchiladas

Categories

  • 30 days of posting challenge (27)
  • cakes (31)
  • cape meals (76)
  • COVID 19 (3)
  • dessert (27)
  • dining out (41)
  • dishes by shane (53)
  • drinks (7)
  • economical (5)
  • failures (13)
  • family (138)
  • Friday Finds (9)
  • holidays (6)
  • left overs (21)
  • meal plans (25)
  • parties (50)
  • picky eaters (19)
  • pregnancy (17)
  • quick (201)
  • traditions (17)
  • uncategorized (220)
  • Vegan (3)
  • Vegetarian (31)

Recently on Instagram

This error message is only visible to WordPress admins

Error: No posts found.

Make sure this account has posts available on instagram.com.

the steady table
© the steady table 2025
Powered by WordPress • Themify WordPress Themes

↑ Back to top